좀 난이도가 쉽긴했지만 그래도 차근차근 기초를 다져나가기 좋았다.
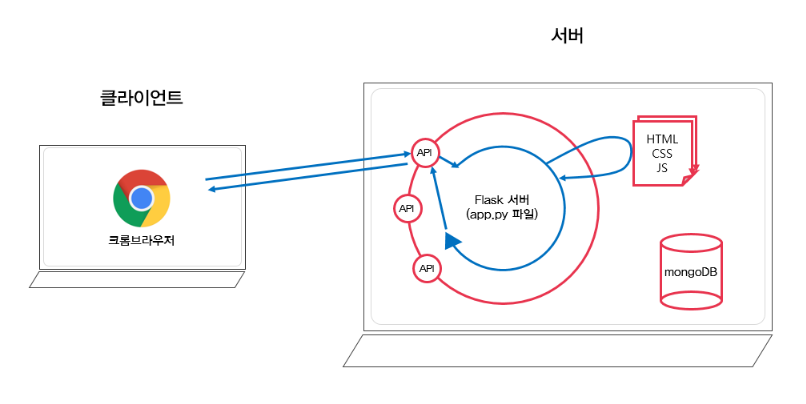
1.웹 서비스의 동작원리
브라우저가 하는 일은
1)요청을 보여주고
2)그에따른 HTML, CSS, JavaScript 결과를 그대로 보여주는 것
*HTML(뼈대), CSS(꾸미기), JavaScript(동작) => 프론트엔드가 하는 일!
2.VS코드 설치
https://code.visualstudio.com/Download
Download Visual Studio Code - Mac, Linux, Windows
Visual Studio Code is free and available on your favorite platform - Linux, macOS, and Windows. Download Visual Studio Code to experience a redefined code editor, optimized for building and debugging modern web and cloud applications.
code.visualstudio.com
1)Visual Studio Code란?
3.HTML 기초
1)주요 태그 모음
-대부분의 태그는 여는 태그와 닫는 태그로 이루어져있다.
<태그></태그>
-여는 태그만 존재하는 경우도 있다.
<태그>
<!-- 구역을 나누는 태그들 -->
<div>나는 구역을 나누죠</div>
<p>나는 문단이에요</p>
<!-- 구역 내 콘텐츠 태그들 -->
<h1>h1은 제목을 나타내는 태그입니다.</h1>
<h2>h2는 소제목입니다.</h2>
<h3>h3~h6 h 뒷 숫자가 커질수록 글자 크기는 작아져요. </h3>
<a href="https://ddingdong.spartacodingclub.kr/"> 하이퍼링크 </a>
<hr>
<img src="someurl.jpg"/>
<input type="text">
<button>버튼입니다.</button>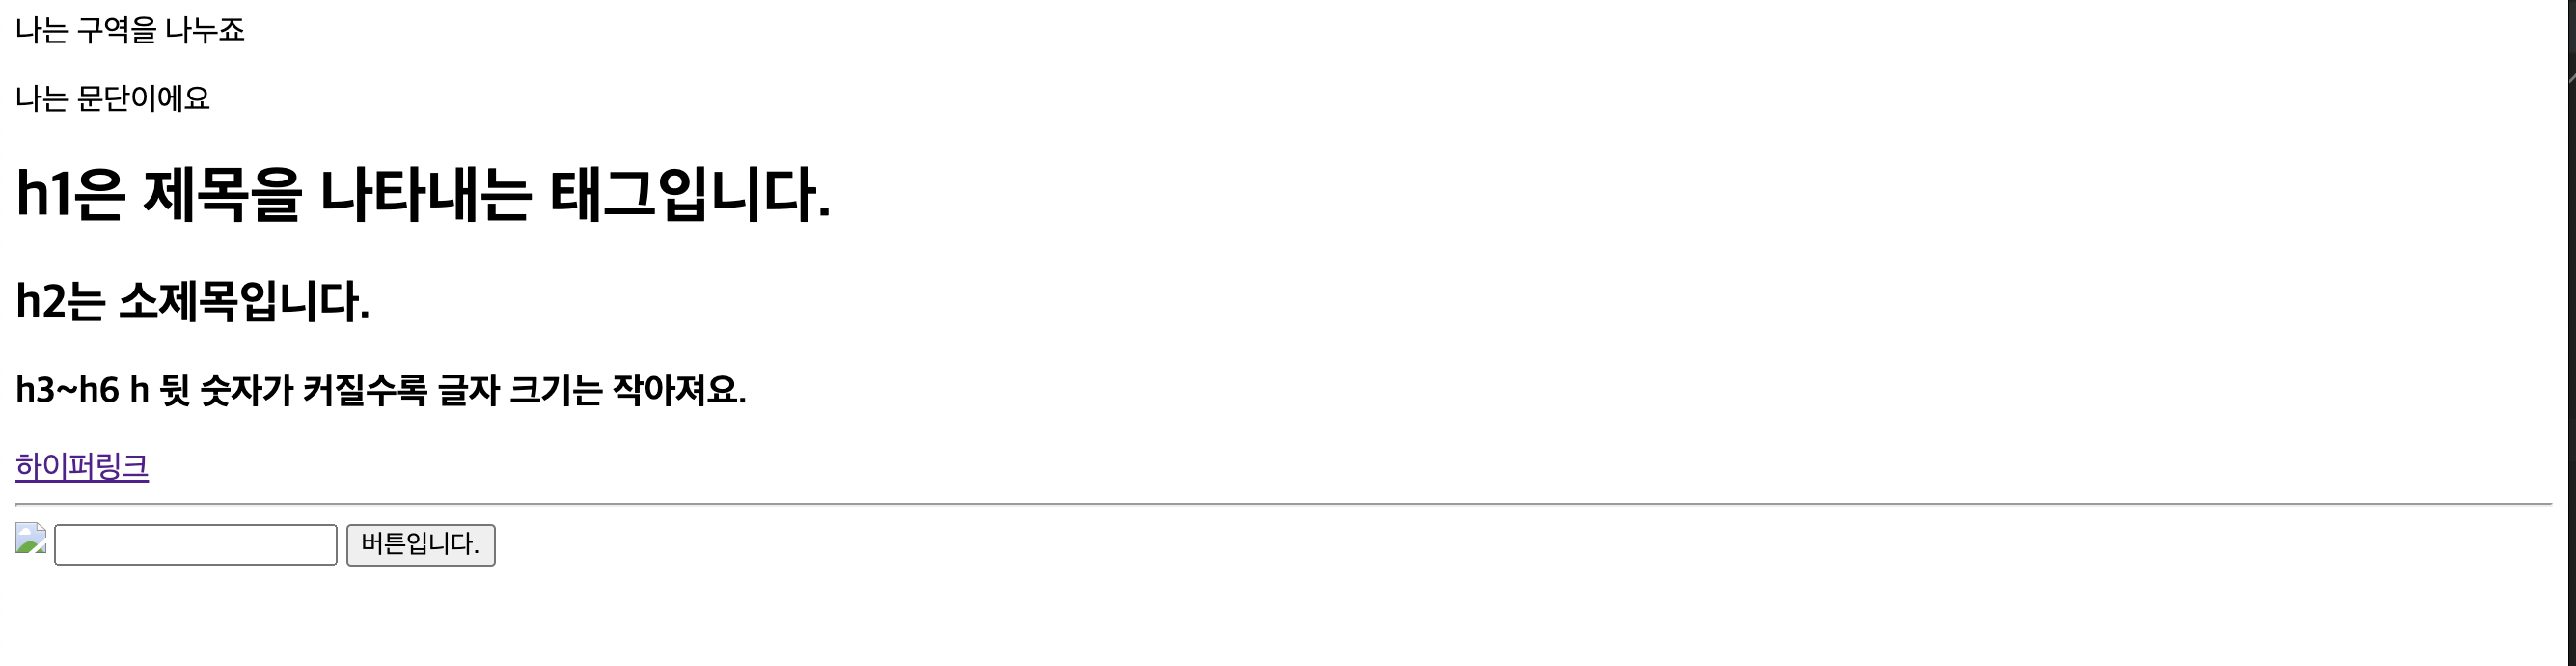
2)로그인 페이지 코드
<!DOCTYPE html>
<html lang="en">
<head>
    <meta charset="UTF-8">
    <meta name="viewport" content="width=device-width, initial-scale=1.0" />
    <title> 띵동코딩 - 로그인 페이지</title>
</head>
<body>
    <h1>로그인 페이지</h1>
    <p> ID : <input type="text"></p>
    <p> PW : <input type="password"></p>
    <button>로그인하기</button>
</body>
</html>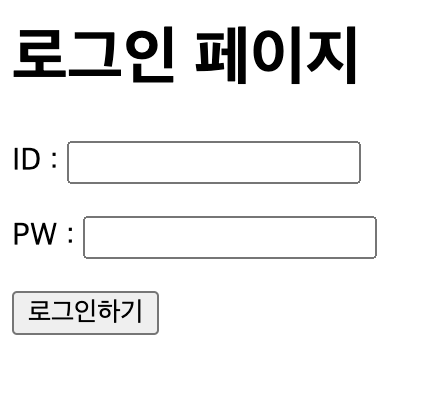
3)Head - Body 구조
웹페이지에서 '뼈대'를 담당하는 html은, 기본적으로 <head>영역과 <body>영역으로 이루어진다.
<html>

<head>
	<!-- 웹페이지 보이지는 않지만, 필요한 설정을 해두는 곳이에요.

    우리가 집을 위해 미리 생각 해놓은 것을 적어두는 곳이라고 할 수 있죠!-->
</head>

<body>
	<!-- 우리가 웹페이지에서 볼 수 있는 부분을 세팅하는 곳이죠.

	  우리가 집에서 눈에 볼 수 있는 집 구조들을 설정하는 곳이죠.-->
</body>

</html>
4.CSS 기초
1)CSS는 웹페이지에서 '꾸미기'를 담당한다.
-명찰을 달아주고(Class)
<style>
    .mytitle {
        color: red;
    }
</style>
-꾸며준다.
<h1 class="mytitle">로그인 페이지</h1>
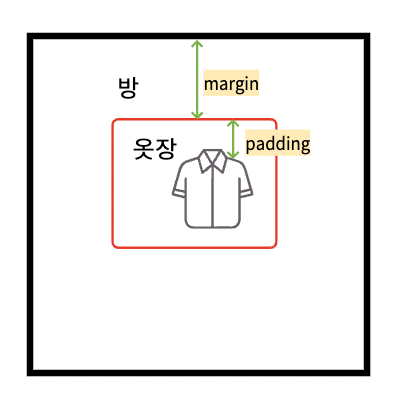
2)CSS는 부모-자식 구조
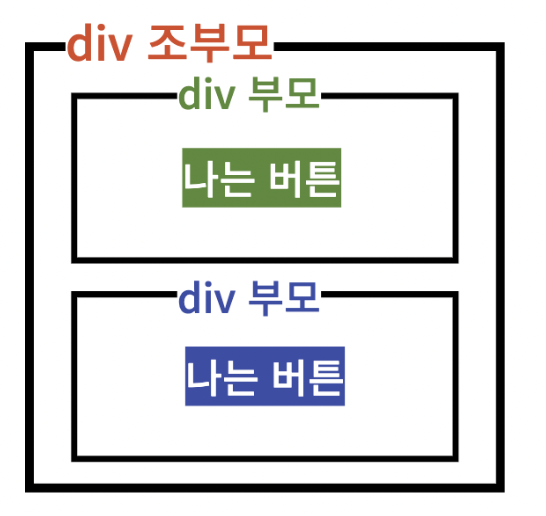
-부모가 자식에게 영향을 미치는 것과 비슷하다 하여 부모-자식 구조라고도 한다
'때마침 방청소시키시는 우리 마나님... :( '
3)CSS 사용방법
<style>
    .클래스명 {
        속성: 값;
    }
</style>
-클래스명 = 선택할 클래스(이름):
스타일을 적용할 html 부분
-속성:
변화줄 스타일의 종류(크기, 색, 위치 등)
-값:
스타일에 주는 변화량
*중괄호, 콜론, 세미콜론을 잘찍어주자. 잘 지키지않으면 컴퓨터가 못 알아듣는다 :(
4)자주 쓰이는 CSS
-배경관련:
background-color: 배경색 지정 속성
background-image: 배경 이미지 속성
background-size: 배경 이미지 크기 속성
-사이즈 관련:
width: 선택한 부분 너비 지정 속성
height: 선택한 부분 높이 지정 속성
-폰트 관련:
font-size: 글자크기 지정 속성
font-family: 글꼴 지정 속성
color: 글자색 지정 속성
-기타관련:
text-align:블록(덩어리) 요소의 가로 정렬을 정하는 속성
margin: 블록의 바깥쪽 여백을 정하는 속성
padding:블록의 안쪽 여백을 정하는 속성
5)css 연습
<!DOCTYPE html>
<html lang="en">

<head>
    <meta charset="UTF-8">
    <meta name="viewport" content="width=device-width, initial-scale=1.0">
    <title>스파르타코딩클럽 | 로그인페이지</title>
		<style>
		    .mytitle {
		        background-image: url('https://static.spartacodingclub.kr/media/main_carousel/1kq0i51tuqc2kfzp.png');
		        background-position: center;
		        background-size: cover;
		        width: 300px;
		        height: 250px;
		        border-radius: 10px;
		        color: white;

		        display: flex;
		        flex-direction: column;
		        justify-content: center;
		        align-items: center;
		    }
		</style>
</head>

<body>
		<div class="mytitle">
		    <h1>로그인 페이지</h1>
		    <h3>코딩의 시작, 띵동코딩</h3>
    </div>
    <p> ID : <input type="text"></p>
    <p> PW : <input type="password"></p>
    <button>로그인하기</button>
</body>

</html>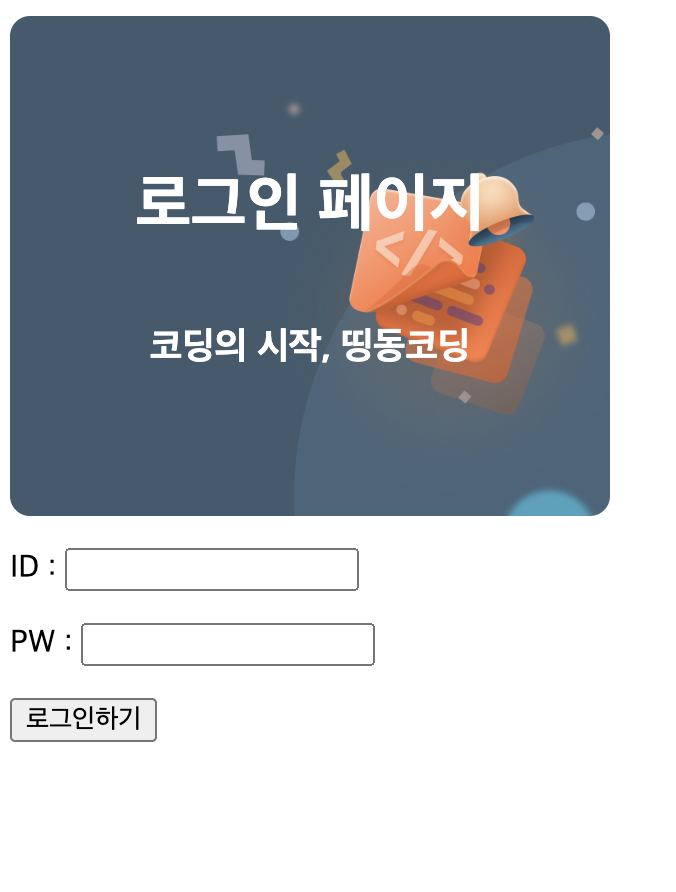
5) 화면 가운데 정렬
'여백'을 조정해서 화면을 가운데로 가져올 수 있다.
margin은 바깥여백을, padding은 안쪽 여백을 조정한다.
<body> 안의 모든 요소들을 하나의 <div>로 묶은 후 width를 주고, margin:auto를 사용한다.
<!DOCTYPE html>
<html lang="en">

<head>
    <meta charset="UTF-8">
    <meta name="viewport" content="width=device-width, initial-scale=1.0">
    <title>스파르타코딩클럽 | 로그인페이지</title>
		<style>
		    .mytitle {
		        background-image: url('https://static.spartacodingclub.kr/media/main_carousel/1kq0i51tuqc2kfzp.png');
		        background-position: center;
		        background-size: cover;
		        width: 300px;
		        height: 250px;
		        border-radius: 10px;
		        color: white;

		        display: flex;
		        flex-direction: column;
		        justify-content: center;
		        align-items: center;
		    }
        .wrap {
            margin: auto;
            width: 300px;
        }
		</style>
</head>

<body>
		<div class="wrap">
				<div class="mytitle">
				    <h1>로그인 페이지</h1>
				    <h3>코딩의 시작, 띵동코딩</h3>
		    </div>
		    <p> ID : <input type="text"></p>
		    <p> PW : <input type="password"></p>
		    <button>로그인하기</button>
		</div>
</body>

</html>
5.버튼 꾸미기
<!DOCTYPE html>
<html lang="en">

<head>
    <meta charset="UTF-8">
    <meta name="viewport" content="width=device-width, initial-scale=1.0">
    <title>스파르타코딩클럽 | 로그인페이지</title>
    <style>
        .mytitle {
            background-image: url('https://static.spartacodingclub.kr/media/main_carousel/1kq0i51tuqc2kfzp.png');
            background-position: center;
            background-size: cover;
            width: 300px;
            height: 250px;
            border-radius: 10px;
            color: white;

            display: flex;
            flex-direction: column;
            justify-content: center;
            align-items: center;
        }
        .wrap {
            margin: auto;
            width: 300px;
        }
        .mybtn{
            border:none;
            width:300px;
            height:30px;
            border-radius:10px;
            background-color:brown;
            color:white;
        }
    </style>
</head>

<body>
<div class="wrap">
    <div class="mytitle">
        <h1>로그인 페이지</h1>
        <h3>코딩의 시작, 띵동코딩</h3>
    </div>
    <p> ID : <input type="text"></p>
    <p> PW : <input type="password"></p>
    <button class="mybtn">로그인하기</button>
</div>
</body>

</html>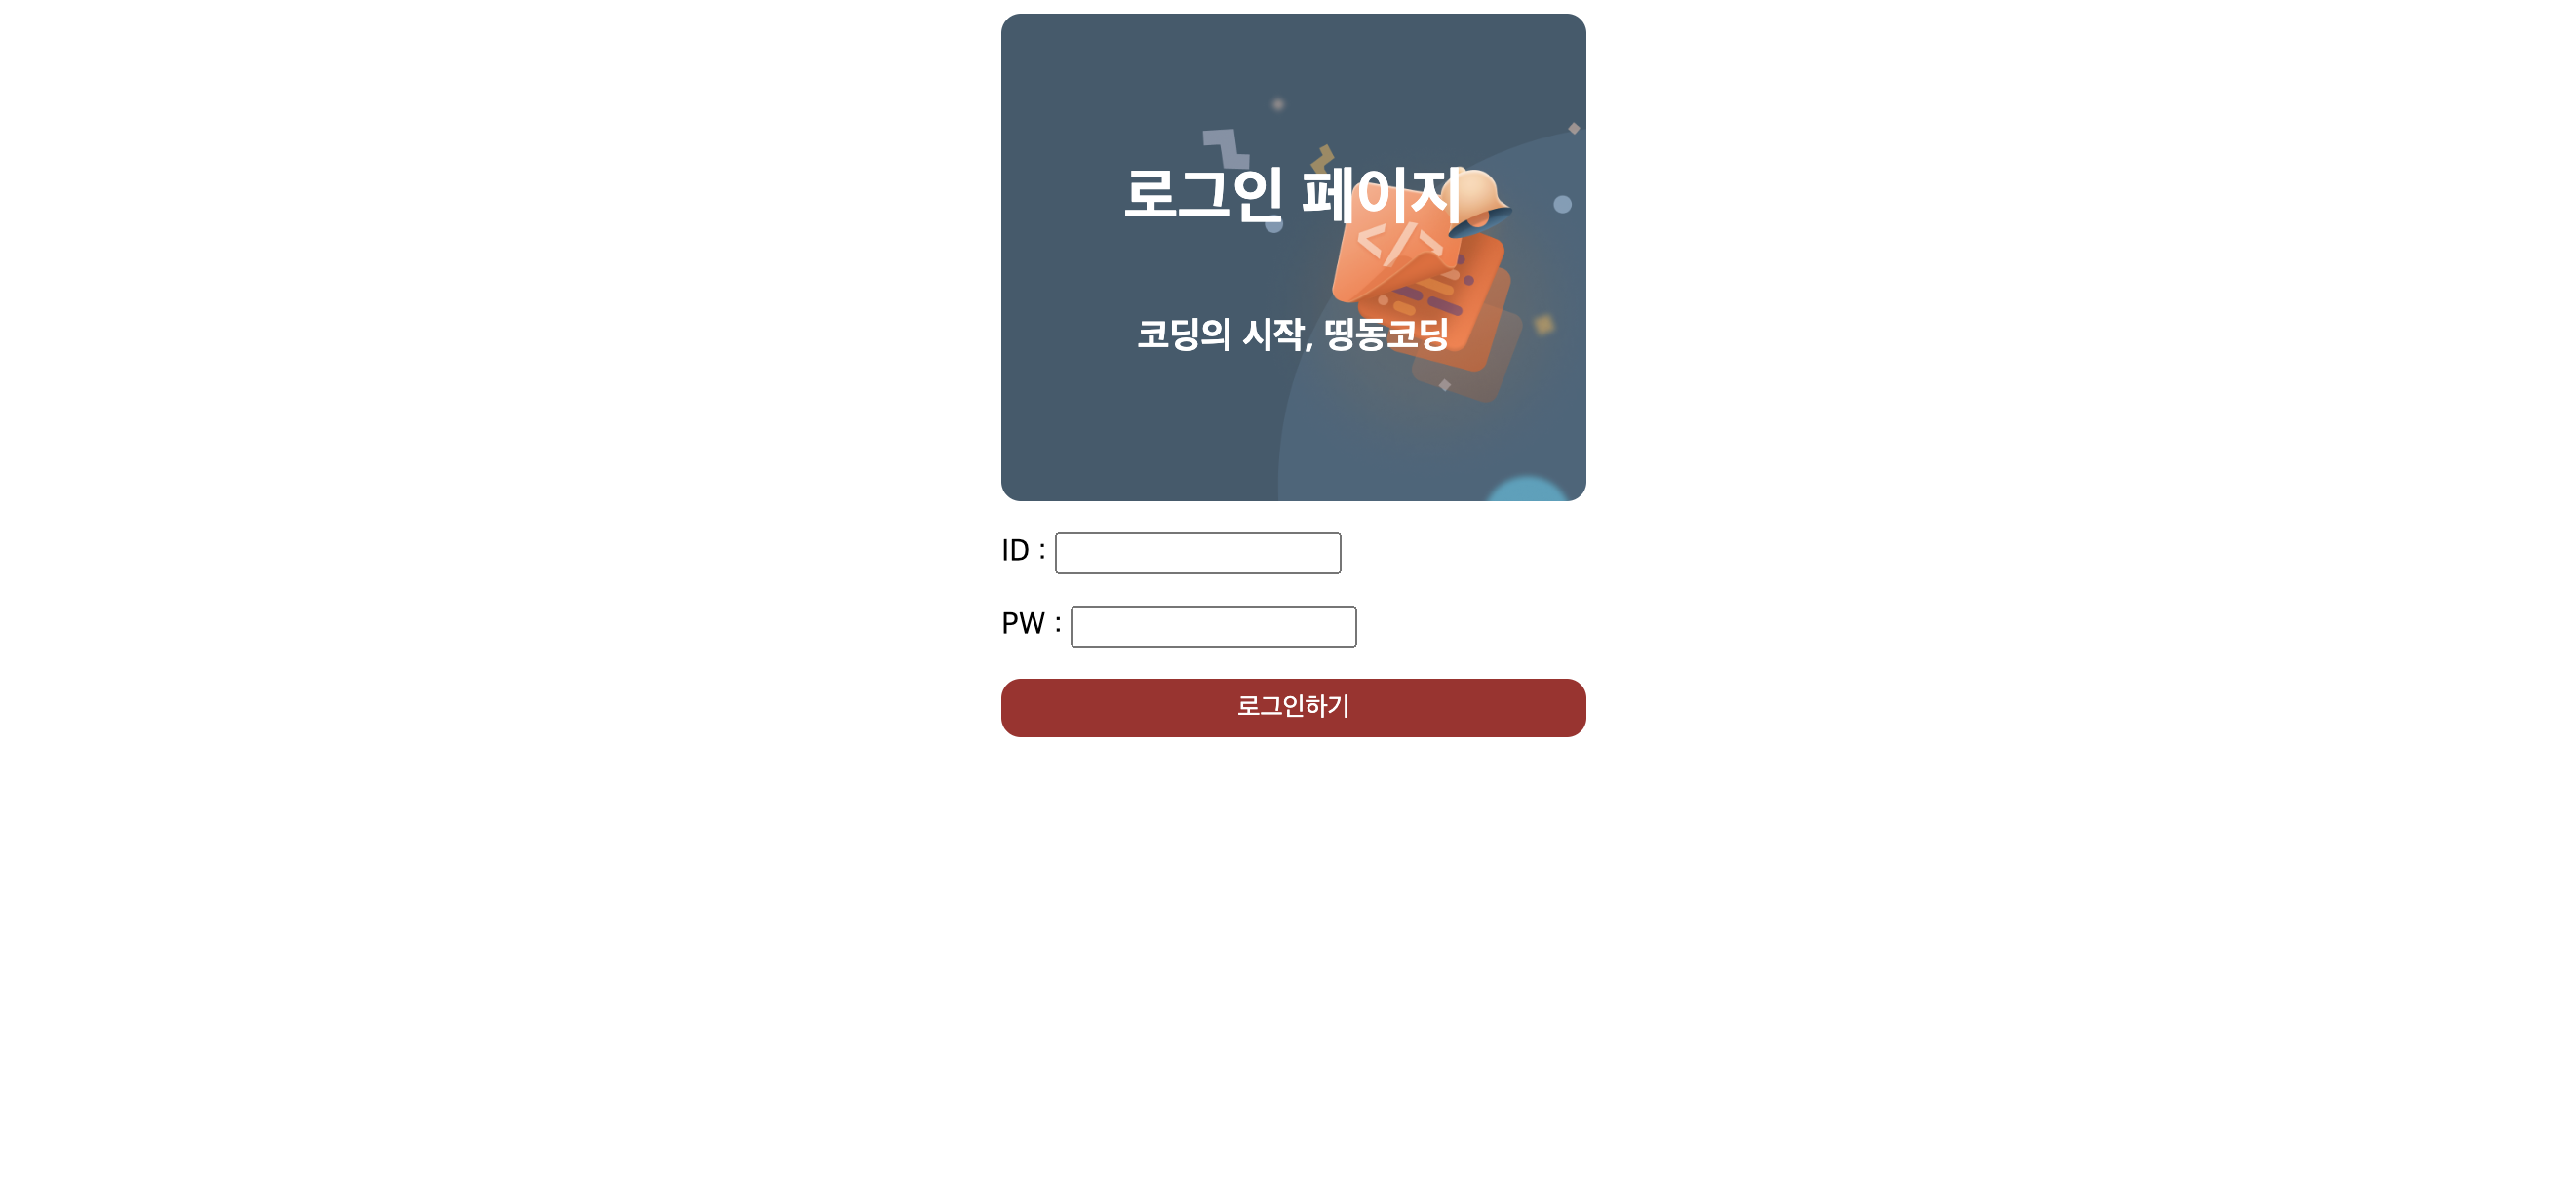
'Lobo's study room > [Sparta]띵동코딩' 카테고리의 다른 글
| [6주차]HTML, CSS 복습하기 (0) | 2022.11.21 |
|---|---|
| [5주차]css활용 (0) | 2022.09.24 |
| 3주차.웹스크래핑 복습(네이버 영화 순위 분석 크롤링) (0) | 2022.08.20 |
| 2주차.네이버 뉴스 크롤링 (0) | 2022.08.01 |
| 1주차.파이썬 기초문법 (0) | 2022.07.31 |

